Adding texture without adding production costs - Part I
Surface Finish is a critical aspect of product appeal
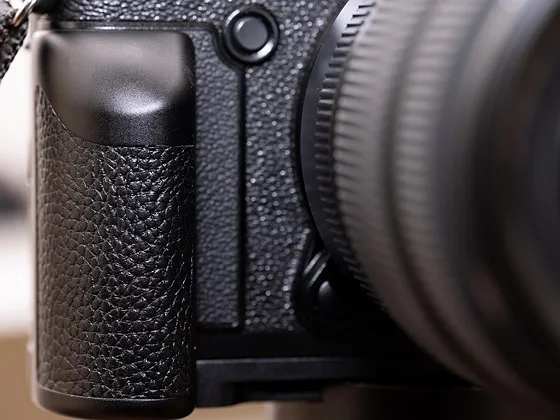
Consumers constantly comment on and appreciate the look and feel of the products that they purchase. Positive reactions are attributed primarily to the surface finish or texture applied to parts. Surface finish is often used to give consumer and/or industrial goods a certain aesthetic appeal that improves desirability. It is also an effective way to address production and performance challenges such as:
Hiding Manufacturing Imperfection. Manufacturing processes may introduce unwanted features such as flow lines, blush marks, and sinks. Textures can be used to eliminate these surface characteristics.
Improving Grip. Adding texture makes the part easier to hold, improving usability and increasing safety in certain applications.
Enhancing Paint Adhesion. Paint holds firmly to a textured part during additional molding operations.
Traditional texturing processes are laborious and manual
Texturing is the process of adding a pattern, the desired finish texture, to the surface of a mold. This allows the mold to impress that pattern on each molded part. Compared to finishing each part individually, texturing a mold is a very economical way to impress complex designs on parts.
Textured molds are created for a vast range of industries. This process is used for everything from sculpted coffee makers to automotive interiors (ex. A-pillars, steering wheels, consoles, etc.). The use of manual methods to accurately transfer specified textures onto the mold surface can be a consuming and expensive endeavor. The process typically involves several tedious manual steps including:
Step 1: Selecting the texture
The process starts by choosing a 2 x 2 foot square swatch or pattern plate with the design on it. The swatches are usually selected from a defined inventory of patterns that “work.” This may limit the designer’s ability to innovate or address specific client requirements.
Step 2: Creating the pattern
The next step involves dipping the pattern plate in wax and transferring it to a sheet of onion paper. One potential issue here is that if the part is larger than the plate, then the mold team needs to create several sheets and meticulously work to align them in the mold.
With the current manual process, mold makers often need to wait until expensive tooling is fabricated before they can validate and correct surface finish imperfections.
Step 3: Preparing the mold
In this final stage, mold makers must validate that the pattern sheets are aligned correctly in the mold. Problems with this method often occur in the corners where the pattern is either "stretched" or "pinched." In these cases, an engraver will take a knife and remove the distorted sections. They then need to edit the pattern by hand.
As with any manual process, these steps can add significantly to the cycle time of a project. In addition to the time costs, the chance of introducing errors that are not found until after the mold is created can also have a dramatic impact on profitability.
Understanding the benefits of Digital Patterning
In part II of this series, we’ll review ways to automate mold surface finishing. We’ll also discuss the advantages resulting from a transition to digital patterning. To get started with the process automated today, just click on the link below. Our experts will set up a time to meet with you and walk through the specific advantages for your business.


