Pattern in Minutes - Aluminum Boat Hull.
Here’s a quick demo on how to convert your 3D design into 2D production-ready patterns in five steps and ten minutes or less with ExactFlat.
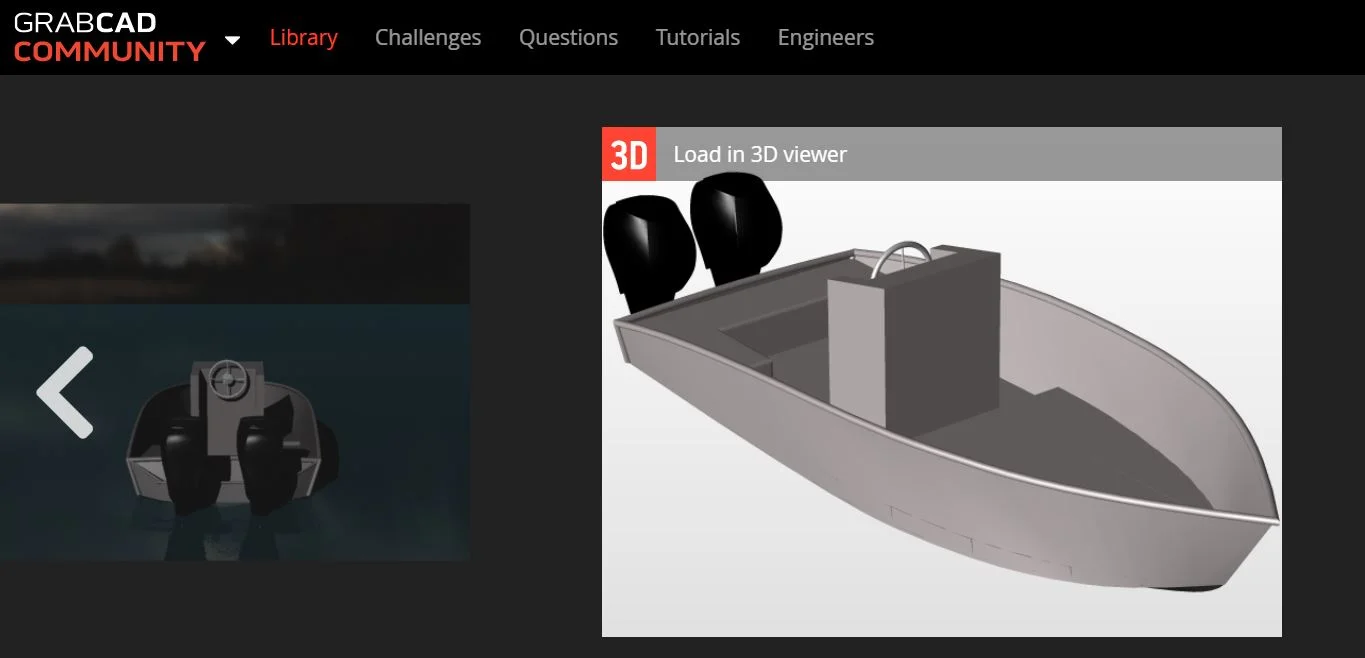
Step 1. Design your boat in your 3D CAD tool or edit an existing model. Sample 3D models for all types of products are available in the GradCAD community library
Step 2. Prepare your model for flattening. In this examples we’ll use the ExactFlat Publisher Plugin for Autodesk Fusion 3D to cut or combine 3D faces from our model and then publish the 3D pieces. This step is integrated into the Flattening step if you're using SOLIDWORKS or Rhino 3D as your CAD tool. Just Click Here to see it in action.
The edges of design models don't always line up ideally with the desired patterns. ExactFlat Piece Creation tools let you control exactly where the cuts and seams will be in your products.
Step 3. Open the published file in ExactFlat, Remesh the pieces to clean up the geometry and optimize compute performance then select them and move to the Flattening process
As the saying goes "time is money." ExactFlat includes a host of features and custom controls to make sure you get form design to pattern as quickly as possible.
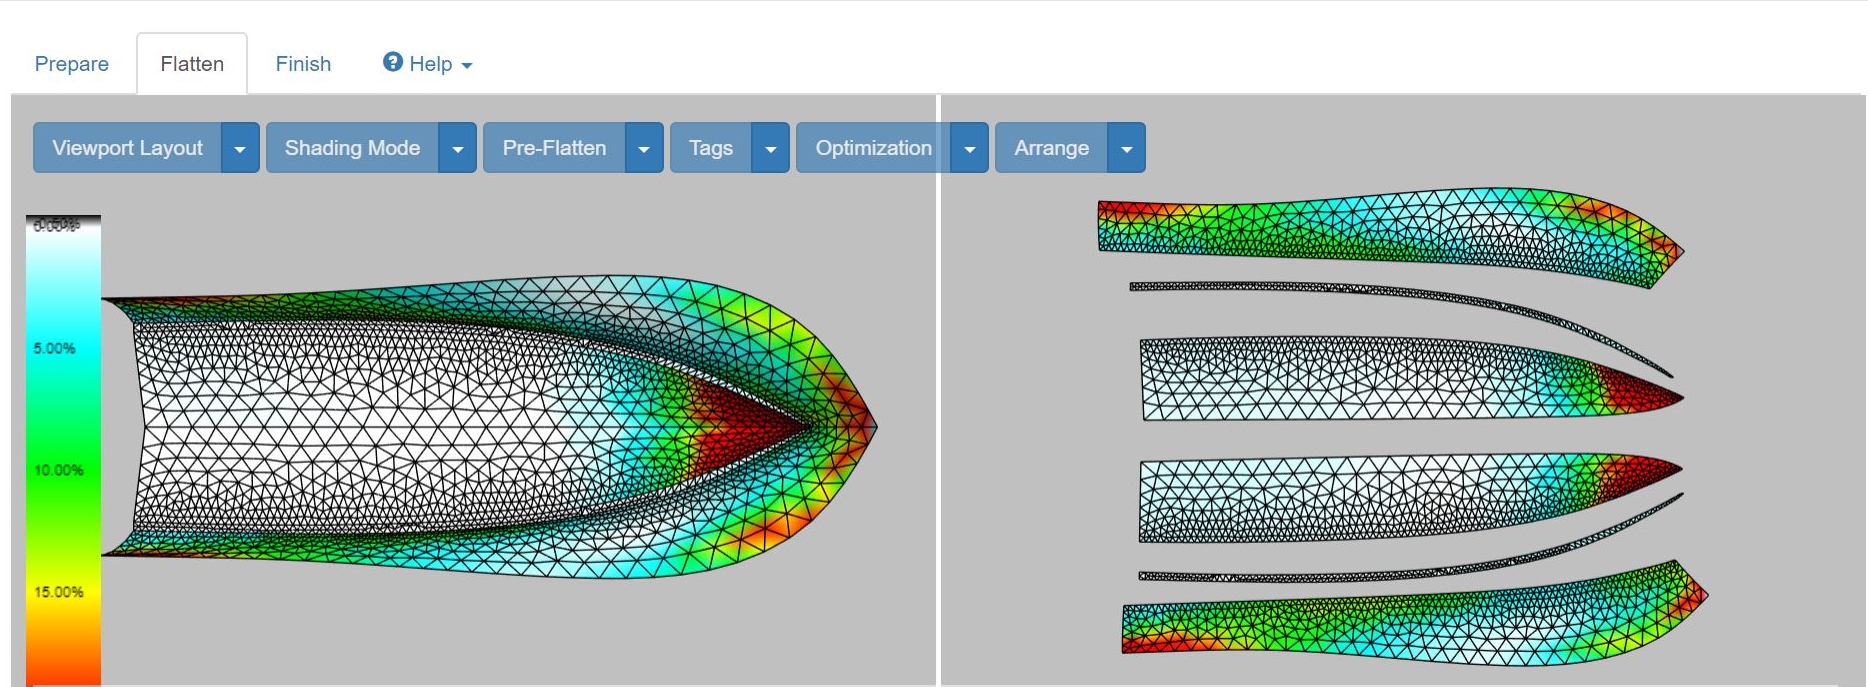
Step 4. Flattening is a two-step process
- First, use the Pre-Flatten tools to generate a rough version of your pattern,
- Next, optimize the pieces to reduce strain or sag
Finally, use the Arrange tools to create your pattern layout
ExactFlat unique algorithms simulate the actual material behavior and provide visual information on strain, the biggest factor impacting pattern fix.
Step 5. Once you have the pattern, you can add pattern features such as seams, notches or hardware callouts (zippers, buttons, snaps, etc...) then download the pattern pieces (DXF or PDF) for final edits or to use directly in your cutter or plotter.
ExactFlat outputs pattern pieces the comply with ASTM standards for cut line, seams, layers, colors, etc. That makes it easy to edit or to use directly in your Automated Plotters, Printers or Cutters.
And that’s it. ExactFlat provides a simple way to convert your real-world projects into production-ready materials in minutes. To learn more or to try it yourself just click on the link shown and ask to speak with one of our experts.
ExactFlat - the fastest path from concept to cutter.


